How to Create, Form, and Pour Concrete Walls: A Step-by-Step Guide
A how to guide for Contracters and DIYers for concrete walls

Whether you're a seasoned concrete finisher, a dedicated DIY homeowner, or a professional concrete contractor, understanding how to create, form, and pour concrete walls can significantly elevate your next project. So, let's dive into this comprehensive guide.
Step 1: Design and Planning
Like any construction process, the first step is to have a well-thought-out plan. Sketch your concrete wall, noting dimensions and any specific features. Having a clear design helps with calculating the amount of materials needed, a crucial aspect for DIY homeowners and experienced concrete contractors alike.
Step 2: Gather Materials and Tools
For this task, you'll need concrete mix, reinforcing bars (rebar), wooden boards or prefabricated forms for molding, a shovel, a level, a trowel, and a wheelbarrow for mixing concrete. Safety gear like gloves, eye protection, and sturdy boots are a must.
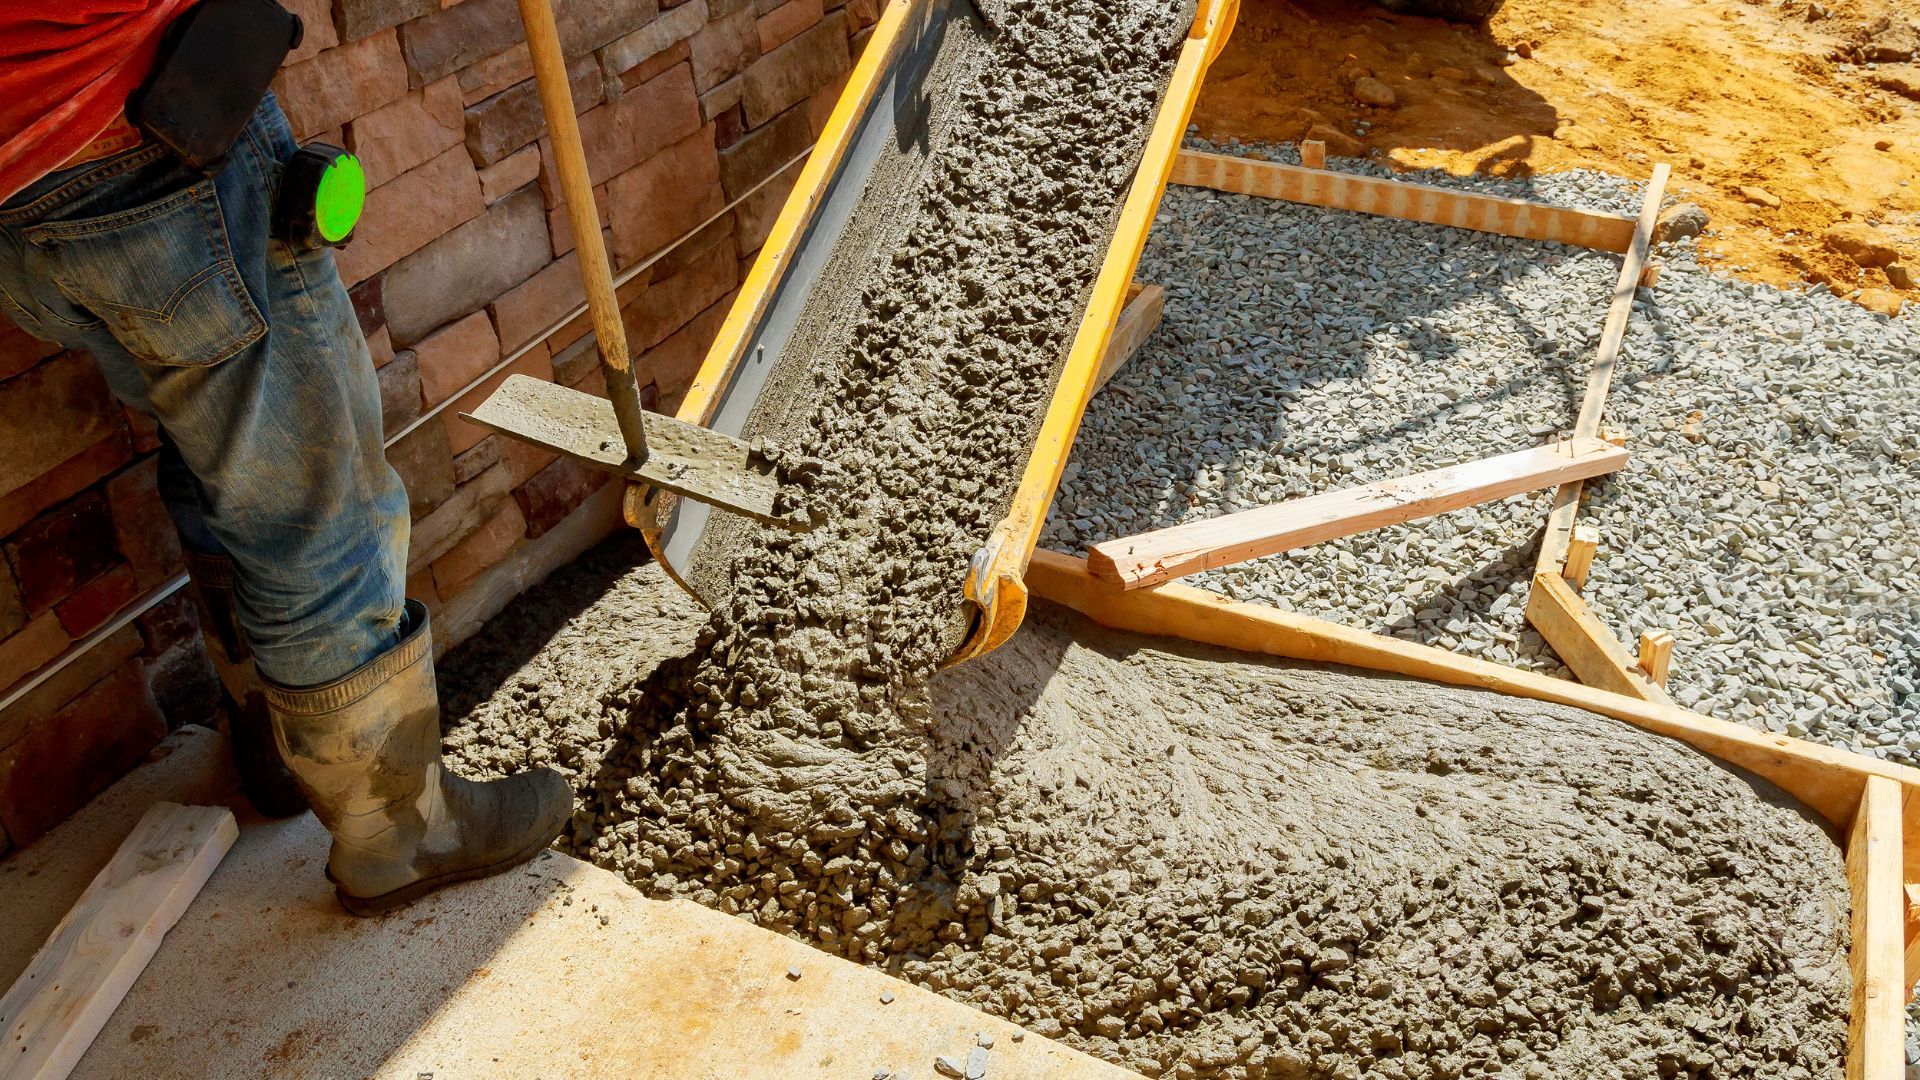
Step 3: Building the Form
Constructing the formwork is critical for ensuring the stability of the concrete wall. The forms should be sturdy and waterproof, made to withstand the heavy weight of the concrete. Use the boards to create a mold in the shape of your desired wall, securing them firmly with nails or screws.
Step 4: Installing the Rebar
Rebar, an essential component for all concrete finishers, strengthens the wall, making it more resistant to tension forces. Arrange the rebar vertically and horizontally within your form, ensuring a uniform distribution.
Step 5: Mixing and Pouring Concrete
Mix the concrete following the manufacturer's instructions. Use your wheelbarrow or a concrete mixer if available. Once your mixture has reached a thick, pourable consistency, it's time to pour the concrete into the forms. Pour slowly, starting at one end and working your way to the other.
Step 6: Consolidate and Finish
Using a trowel, smooth the top of the concrete, ensuring it's even and level. Let the concrete cure, keeping it moist over several days to prevent cracking. Curing time can vary depending on the type of concrete and weather conditions, so be patient.
Finally, after the concrete has sufficiently cured, remove the forms. Congratulations on your new concrete wall!
Whether you're a DIY homeowner, a professional concrete finisher, or a concrete contractor, building a concrete wall can be an engaging and rewarding process. By understanding how to create, form, and pour concrete walls, you'll not only save money, but also craft something of lasting quality and durability. Get started on your concrete construction project today!
Contact Us
Ready to work with Golden State Concrete Creations?
Let's connect! We’re here to help.
Send us a message and we’ll be in touch.
Or give us a call today at 818-805-0881
Agency Contact Form
More Marketing Tips, Tricks & Tools